|
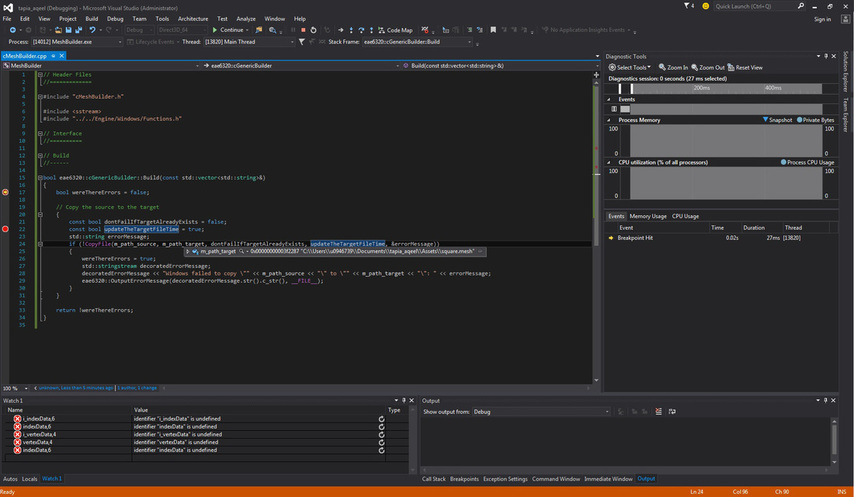
For this assignment we had to remove the use of custom command line arguments to pass the assets. Instead we created a new file that contains a list of all the assets required to be built. We built a mesh builder tool that we use to build our meshes and add to the asset list. We also added another mesh, a triangle to our list of meshes being output on the screen. 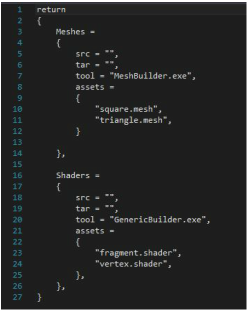 This is how I decided to structure my file called AssetsToBuild.lua that contains all the data about the assets to build. like which builder tool to use to build them, the source path (src), target path (tar) and the list of those type of assets. The assets are grouped by type so all the mesh assets are together and all the shaders are grouped together. That way we can specify common information for all of the assets instead of repeating it for each asset. I placed this file in the Scripts folder. The reason being that since my BuildAssets.lua, (the script that actually builds the assets using lua functions) script is in this folder it made most sense to have the AssetsToBuild.lua in the same folder. That way all my lua scripts are in the same folder. The screenshot below shows me debugging the MeshBuilder. To do this we need to specify custom command line arguments to the Debugger, set the desired builder to be debugged as the startup project and then debug this using visual studio. This is required in case a specific asset builder needs to be debugged. These are the new command line arguments for the BuildAssets.lua project.
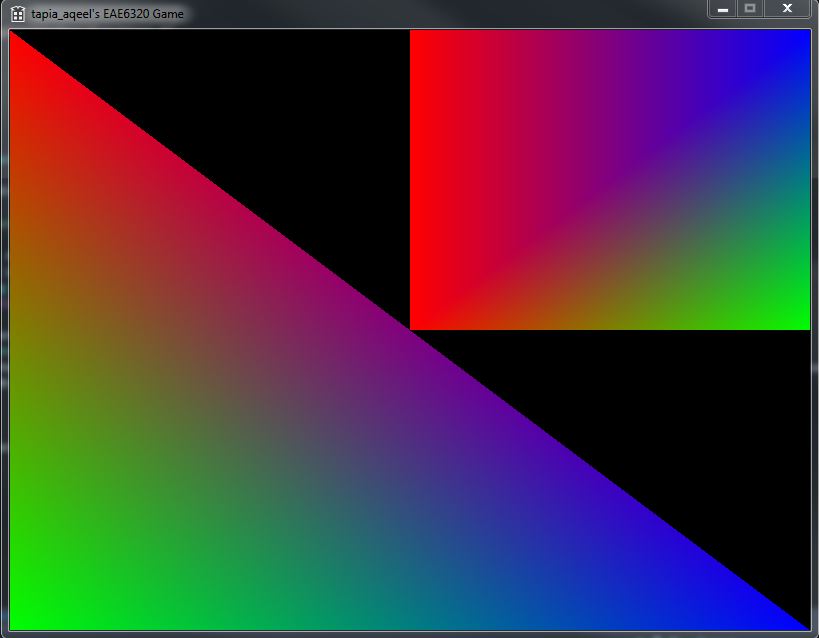
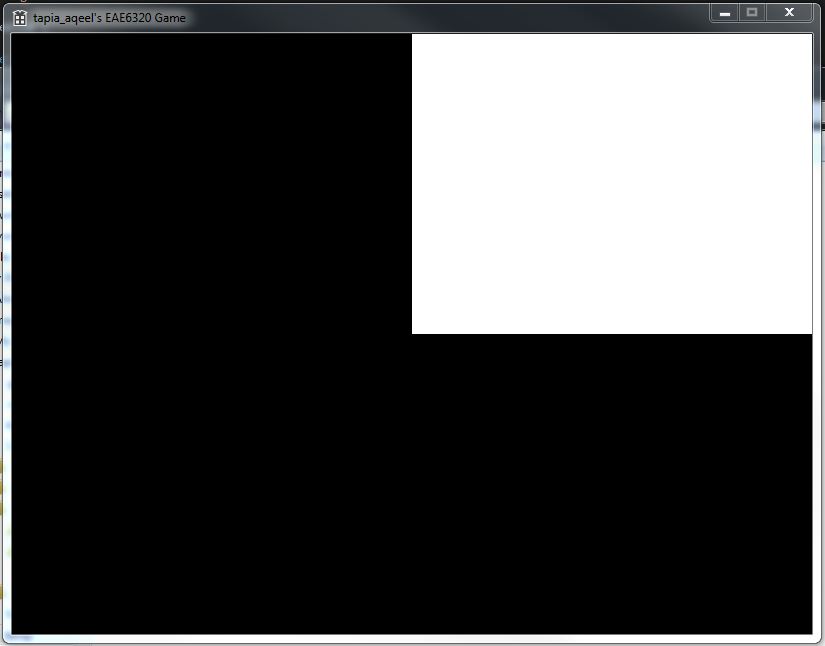
"$(BinDir)AssetBuilder.exe" We pass the AssetBuilder.exe application as an argument. This is because the asset builder contains the list of assets as well as all the code to build our assets. Hence no other arguments need to be passed. The AssetBuilder project depends on the BuilderHelper.. The BuilderHelper contains helper functions and utility functions that are used for the build process. Additionally it uses the Windows and Lua libraries and depends on those to build as well. UPDATE : After talking to my professor John-Paul, I realized the MeshBuilder/GenericBuilder need to be built to provide the assets for the asset builder to build. The asset builder does NOT require these builder tools to build, but it does need it to run correctly since they provide the assets the asset builder needs. Below is the screenshot of my output, now using 2 meshes, a triangle and square. These meshes can now be easily added to the game using a simple lua script as shown above. You can download the Direct3D_64 build here. You can download the OpenGL_32 build here This assignment required us to do 2 main things. The first one was to compile the fragment and vertex shader files into a single platform independent file that is used by both Direct3D and OpenGL. The second was to use Lua data to generate a mesh that we use to display the square we had in the last assignment.
For the shader files I chose to name them fragment.shader and vertex.shader. Since these files are shader files it made most sense to me to have their type in the file extension. The filenames described the type of shader they were. I used preprocessor macros to define which code is run for which platform. this way we have only one common shader file for each platform. My mesh file has expanded a lot from before. One of the first things I did was to correct a mistake I made last week about passing the size of the Vertex data in the draw call. Since I restructured the mesh file that was no longer needed,. Since out mesh file will eventually be generated by Maya I decided to stick with the default winding order that maya uses which is right handed. This winding order is the same as OpenGl but different from DirectX. Similarly I went with having the RGB color values as well the alpha value in my structure because I thought that since all four values are used to display something, this should be reflected in my Lua file. All my Mesh files are named with the .mesh extension. Since they contain data that generates the mesh it seemed most obvious to me to call them by the .mesh extension. This is how my Mesh structure ended up looking like : struct Mesh { #if defined( EAE6320_PLATFORM_D3D ) IDirect3DVertexDeclaration9* s_vertexDeclaration = NULL; IDirect3DIndexBuffer9* s_indexBuffer = NULL; IDirect3DVertexBuffer9* s_vertexBuffer = NULL; #elif defined( EAE6320_PLATFORM_GL ) GLuint s_vertexArrayId = 0; #endif }; The lua file that generates the mesh should be highly HUMAN READABLE. This means that any programmer who is using the file should easily understand the format and data in the mesh file. This makes the file easy to understand and thus modify. In later assignments we are going to write a maya exporter for us that will generate this file for us this we do not have a lot of work to do in making these files in the future. But having a readable and understandable format means that anyone using it can tell what data is being used in which format. This assignment had a lot of places where you could go wrong and it took a long time to complete. There were a few errors I overlooked that I had help from a couple of my classmates to resolve. Finally I managed to get it work, it took a while. You can download the DirectX_64 build here You can download the OpenGL_32 build here This time we changed some of the code so that the triangles we were rendering works differently. Previously we used the vertex data to specify the points for the 2 triangles that made up our square. A triangle needs 3 co-ordinates so 2 triangles forming a square would mean 6 coordinates. However, a square only requires 4. This means we have repetitive data in our vertex data. To eliminate this we specify only the 4 required coordinates in our vertex data and create a separate index data structure to tell us the rendering order of these vertices. These indices point to the vertices but repeating only an index is more efficient that repeating the whole data.
This may seem inconsequential if we are only using the x,y coordinates to specify points. However if we use more data like color for example, then this makes for a lot of repetitive data. So our rendering system now consists of a vertex buffer and an index buffer. The vertex buffer holds the data values whereas the index points to these values for the rendering order of the triangles. Another thing we had to create this time was a Mesh. A Mesh structure basically holds all the geometric data about our object. This is different from the material of the object. For example, imagine a scene with a block of wood and a block of metal. In the terminology defined, we could represent both objects with a single mesh (the block), but each object would use a different material (wood and metal). It is possible to render a single mesh with different materials. We also had to separate out the graphics code. For the purposes of this assignment, we had to change the Render function so that all the code that actually draws the meshes to the screen is separated out from the rest of the code. We have different implementations for each platform. The reason behind doing this is that since we are writing code for both DirectX and OpenGL, we want our Graphics code to be completely platform-independent. The disadvantage of doing this is that separating the code means we may have duplicate code that is common to both platforms. For the structure of my Mesh I chose to make a struct that contains the mesh data. This is how the interface looks like. DrawMesh(sMesh, sizeof(sVertex)); Ideally, (as I later realized), only the sMesh data needs to be passed since it contains all the data for the mesh to be drawn. Since I did the DirectX implementation first I assumed that the sVertex would also be required by openGL as well so I thought the easiest way would be to pass it through the common interface. OpenGL does not however require that data. So in the openGL implementation it ends up being redundant. For the DirectX version there was another issue. The DirectX draw call requires a Direct3D device which acts as an interface for lots of DirectX functionality. This is required in both my graphics as well as my mesh code. Figuring out how to place it so that both pieces of code can use it was very hard for me. After much deliberation I passed its pointer from the graphics code where it was initially being called into the mesh code. This means making it a global variable which is undesirable. But hey, it worked! I now have a colored square as my output! Download DirectX_64 build here Download OpenGL_32 build here Week 2, here we go. Just like last week's assignment this week too was more about integrating existing systems that were provided to us. This week we integrated Lua libraries into out project to allow the asset building system to use Lua functionality to build assets. Since the Lua libraries are an external library in our folder library we placed it in the externals section in our solution hierarchy.
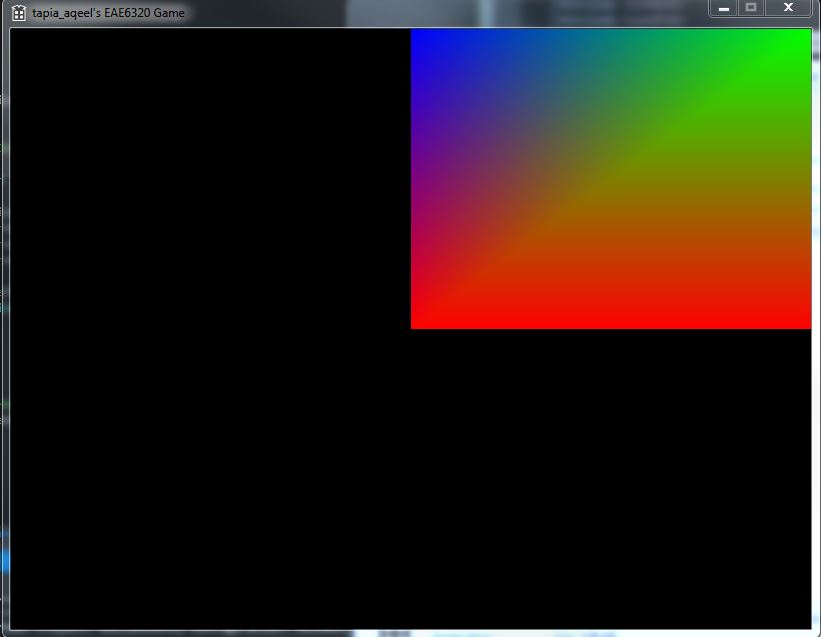
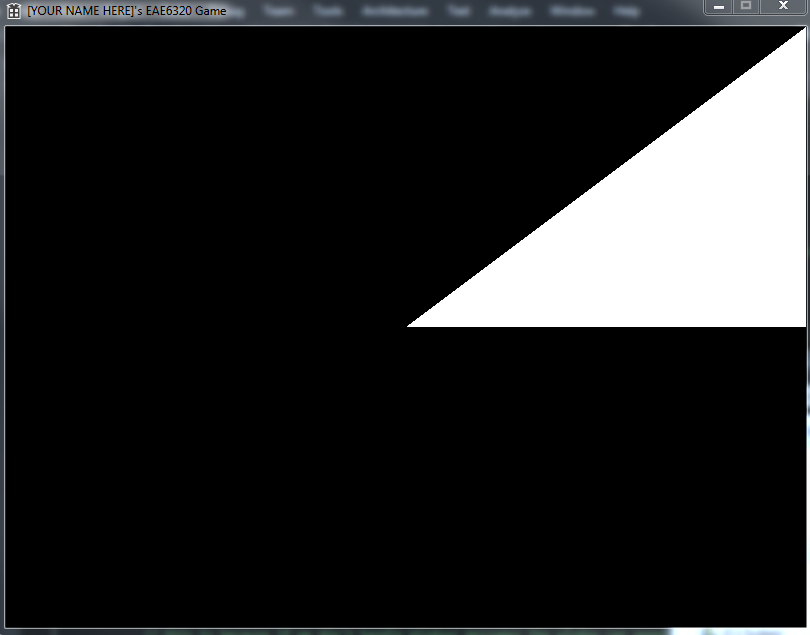
The lua script is in a file called BuildAssets.lua. This file was provided to us, we simply had to include it in out project. I chose to place this file in a separate folder called Scripts inside my solution folder. The reason for doing so was that I wanted the script files to be separate from my C code since the script files are not compiled as part of the project. Also, personally I like having all my scripts in one place. The BuildAssets.lua contains information about the authored assets like its timestamps for file generation, file path etc, as well as scripts to compile and build the assets. The actual asset files are passed as command line arguments to the BuildAssets project. The AssetBuilder project then uses the script file data and functions to build the actual assets into the target folder. For the purpose of this assignment all the script file does is copies the built asset files to the target location. This is how the authored assets are built in the engine. For the above reasons Lua is a good option to use for video games. It is fast and has excellent integration with C++ allowing us to write functions in C++ and use them through Lua code and vice-versa. The actual extent to which Lua is used in video games varies with the project. It can range from something simple such as managing game settings via a lua script to complex game systems and possibly the whole game itself being written in Lua. Using Lua comes with its advantages and disadvantages. Some of the benefits are: - Changes in script files do not require the whole project to be rebuilt. - Allows separation of operations, game code can be developed independent of engine code. - Security. Buggy scripts will not crash the whole program. - Certain things are easier to implement in Lua than C++. Using more than one language that can interface well gives us the best of both worlds. There are certain disadvantages too: - Debugging scripted code is harder. - Scripts don't integrate well with the IDE. Additionally, we also changed the data for the Vertices which are passed to the Shader to print another triangle on our output screen. This version puts 2 triangles that form a square printed in out "game". Download DirectX_64 build here Download OpenGL_32 build here Assignment 01 The first assignment was mainly all about setting up the solution in Visual Studio correctly for the future assignments. This was very interesting to me as I have only worked with smaller projects before that didn't have much inter dependency between projects and libraries. So it was a great learning experience for me. We had most of the code provided by our instructor John-Paul so the majority of the assignment included just adding the different facets of the project into a well structured solution. The main thing is we want the systems to have minimal dependency on each other so that the systems remain modular and can be reused in a different project. We had to separate out the project into an Engine system, External library, Tools system and Game. What I mean by this is the engine I write is independent of my game and can be reused in a different game. It would be double the effort to write the same engine code for another game I make later. For the most part we were provided instructions on how to set up the project in a way that helps us simplify all the systems and they way they work so we had very minimal decision making in terms of architecture of the project, but more important was understanding the way things worked and why it was setup the way it was. One of the really cool things is using property sheets to set up a temp folder that all of the files that we build would go into. This is really useful as all those files are a product of building the source code but not required in the source code (hence the folder name 'temp'). The good part about this is one; all the generated files from building the code are organized in a separate folder, and two; since these files are separated removing will not affect the project the in any way. Another thing was separating out the asset system from the game system so that each one can be built separately. That way once the asset list is much larger, the assets can be built independent of the game system so when there are changes to the assets the whole project does not need to be rebuilt (in larger games build times can be as long as an hour or more). It works more so for the other way around when assets can be very large, then a small bug fix in the code can result in a very time-consuming asset rebuild. At the end of the semester I hope to have a better understanding of the asset pipeline in games, as well as an understanding of the graphics and shaders used in graphics in game engines. I know very little about the graphics side of game programming and I'm really excited to see what I can get out of this class. I still have mixed feelings about whether I'll like it or not... who knows, time will tell. For all this work, we have a triangle printing on screen (screenshot below) to show for it. :D You can download the current version of my work: Download DirectX_64 build here Download OpenGL_32 build here |
Aqeel TapiaThis is a blog that documents my work for my graphics Game Engineering class at the University of Utah. Archives
December 2015
Categories |
 RSS Feed
