|
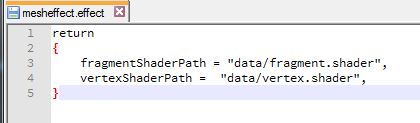
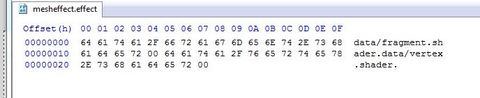
Our game still looks the same as the last assignment. However there are a lot of code design changes we made this week. The first step was to make a human readable effect file, an effect builder that makes it a binary file and using it in our game. The images below show my human-readable effect file and its corresponding binary file as generated by the EffectBuilder tool that we created for this assignment. I named my effect file “mesheffect.effect”. I wanted to have the .effect extension but since we had only one effect for all of my meshes it didn’t seem to matter what I called it, hence the name. The paths are stored in null terminated strings “\0” in the binary format. So the format is, fragment shader path – null terminator – vertex shader path – null terminator. Thus, I can easily extract the information from the binary files.
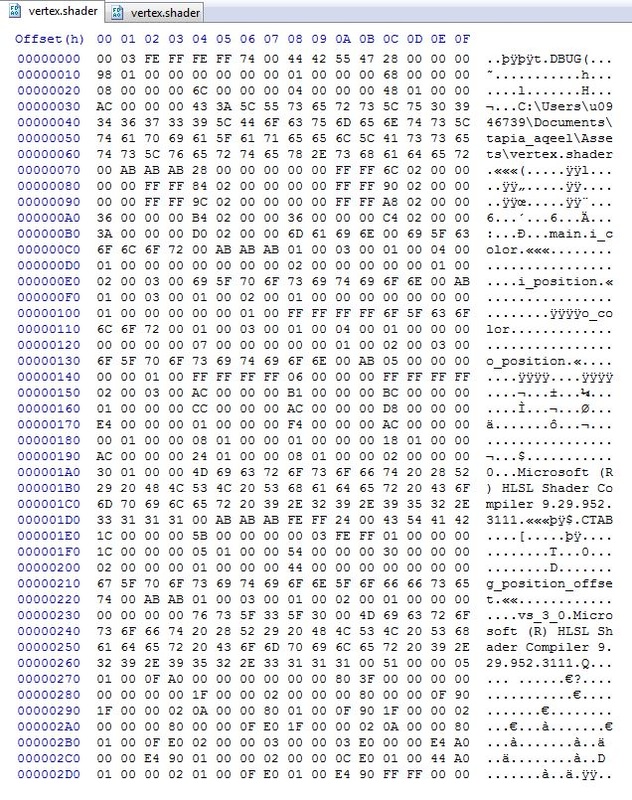
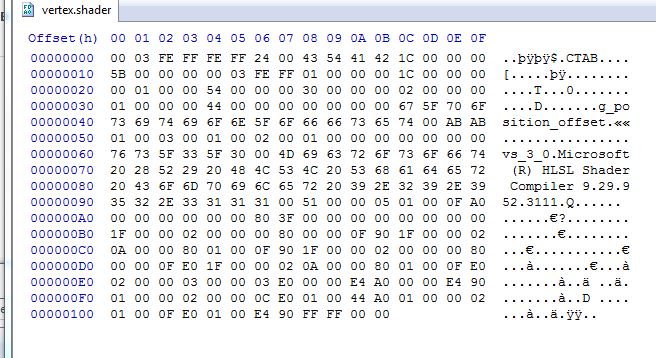
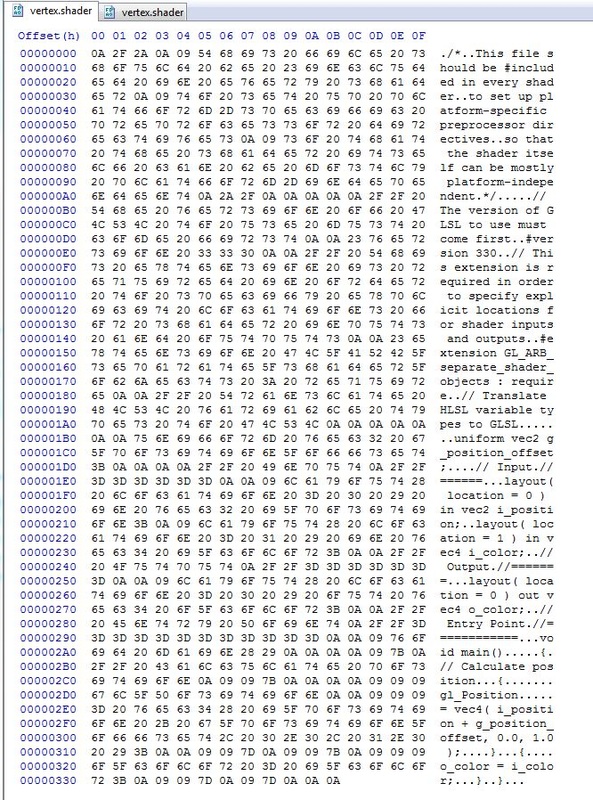
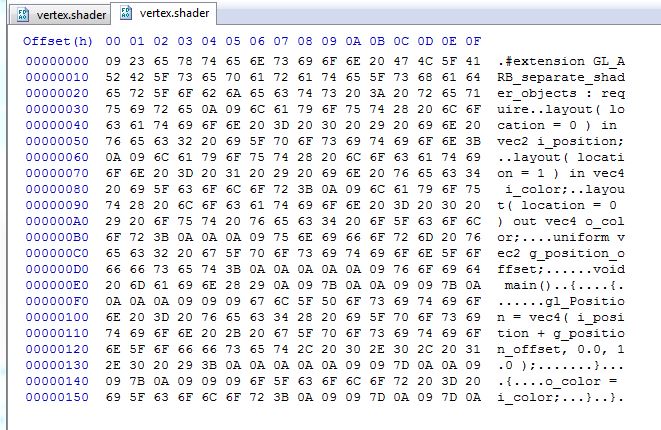
The other portion of the assignment was to create a shader builder. Currently our shaders are being compiled at run time. This code is moved to a ShaderBuilder tool which will compile them at build time. I have 2 slightly different builders of the same Shader Builder code for my Fragment and Vertex shaders since using a single shader builder would require me to pass more arguments in my AssetsToBuild.lua file to differentiate between the 2 shaders. I am more comfortable working in C++ than in Lua hence I chose the one that suited my preferences. Our builders have a different #define to build debug shaders versus release shaders. The debug shaders contain far more data than the release shaders that is not necessary for a release build where optimization and small shader size is important. That data does contain information like the location from where the shader was compiled, etc. that would help in a debugging build. The images below show the difference.
The GLSL shaders for OpenGL have a far more noticeable difference. All the comments in the shader file are maintained in the debug build versus the release build. This extra data can help in debugging but is not required for the game to run. The images below show the difference.
Leave a Reply. |
Aqeel TapiaThis is a blog that documents my work for my graphics Game Engineering class at the University of Utah. Archives
December 2015
Categories |
 RSS Feed
