|
This assignment took forever to complete, but the end result was fully worth it. I am now rendering 3D objects in my game!!! Woohoo! 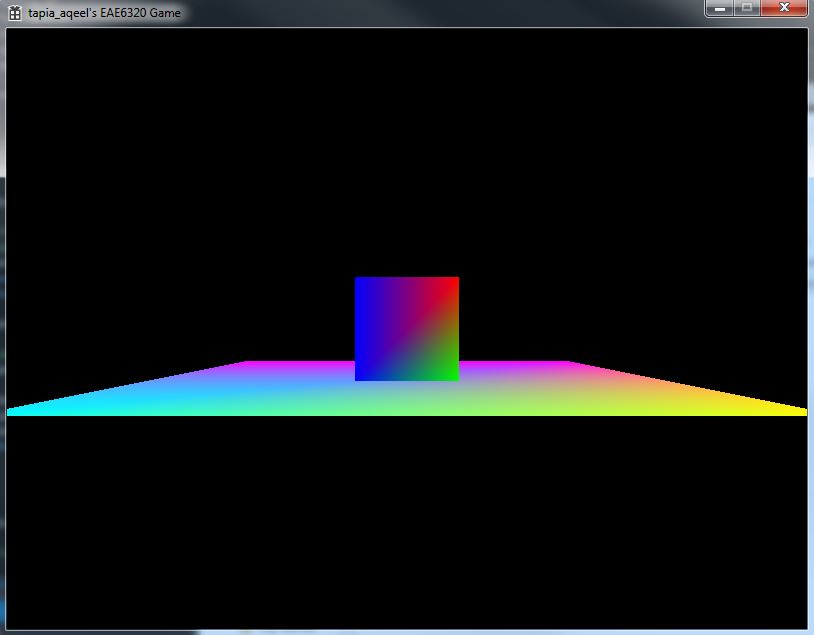 To achieve this 3D rendering one of the main changes we made to our system was the introduction of 3 new matrices to help us calculate the position of the objects and what to render on screen. 1. Local To World Transform All the objects which we make are in a neutral position, i.e. centered around the origin and the bottom face on the XZ plane. If we populate our game world with all these objects, all the objects would be at the origin. To move them, we use the Local-To-World transformation matrix to move those objects in relation to the actual location in the game world. This is calculated on basis of the object’s position and the orientation. 2. World To View TransformThis represents our game camera. If we display the objects as is in the game world, we would only see some of the objects and in a static, constant view. But we want to look around. We introduce the concept of a camera. Initially, without the matrix, we can assume the camera to be positioned at the origin and pointed towards positive Z. Using this transform we can move the camera around thereby changing our view position relative to the objects. 3. View To Screen Transform This transform helps us decide what, out of all the objects we have, to display on our screen. To do this we need 4 main things, a field of view to render things the camera is looking at and an aspect ratio that normalizes the distances in different directions. We also need a near and far plane such that objects too close and too far from the camera are not rendered. 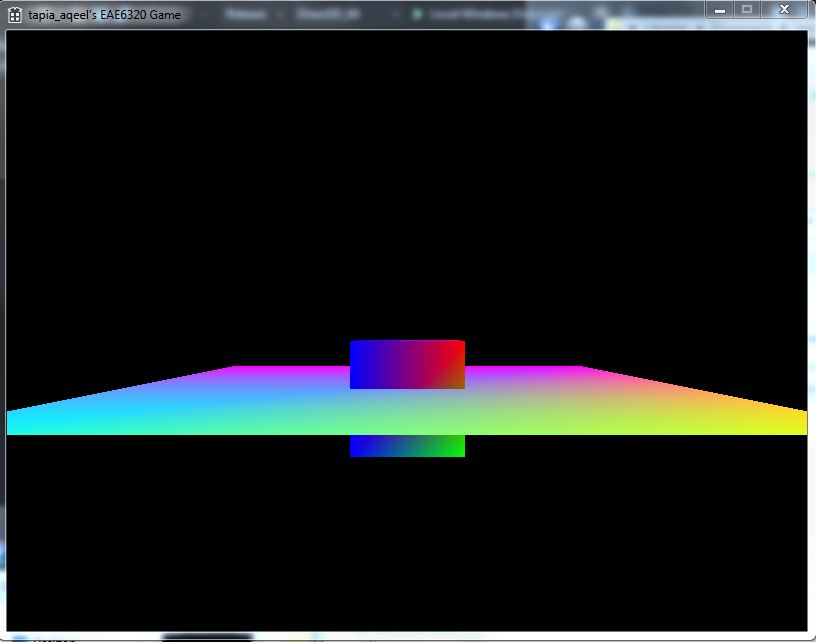 If we draw the plane first, the intersection will not occur and the box will be on top of the plane, which is undesirable. This is remedied by the Depth Buffer. The depth buffer and depth testing allows us to draw the objects in any order, and not worry about what will get rendered first, and on top of whom. A depth buffer contains data pertaining to the z depth of each pixel rendered. If two rendered objects overlap each other, then the depth testing is performed to decide which pixel is closer to the camera. 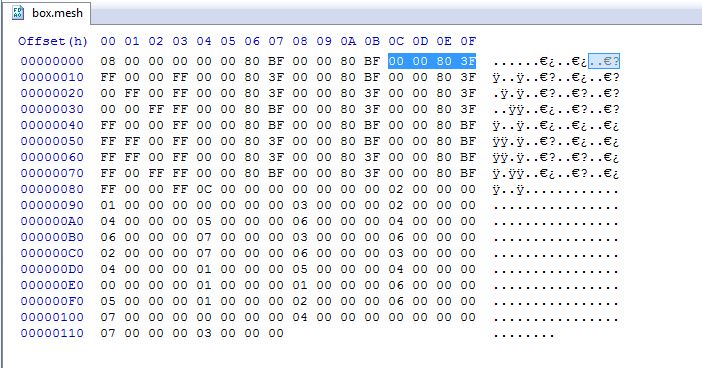 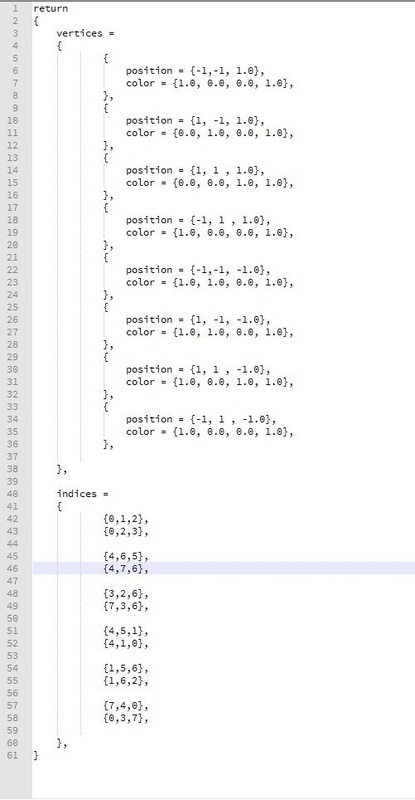 The above 2 images show my Box mesh files in binary and human readable format. The highlighted numbers in the image shows the Z values that were added to my binary file for this assignment.
I also created a camera class that allows the user to control what part of the game space he is looking at. The camera class exists as part of my graphics code but now that I think about it, it may not be the best place to have the camera code. It works for now so I am leaving it there. Download the DirectX build here. Download the OpenGL build here. CONTROLS: Arrow keys to move the object. WASD to move the camera in First-person shooter camera style. Esc to quit. Leave a Reply. |
Aqeel TapiaThis is a blog that documents my work for my graphics Game Engineering class at the University of Utah. Archives
December 2015
Categories |
 RSS Feed
