|
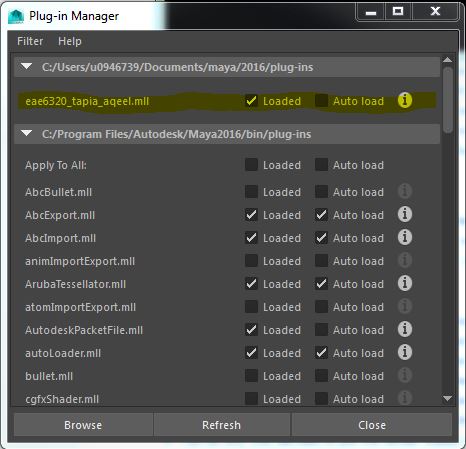
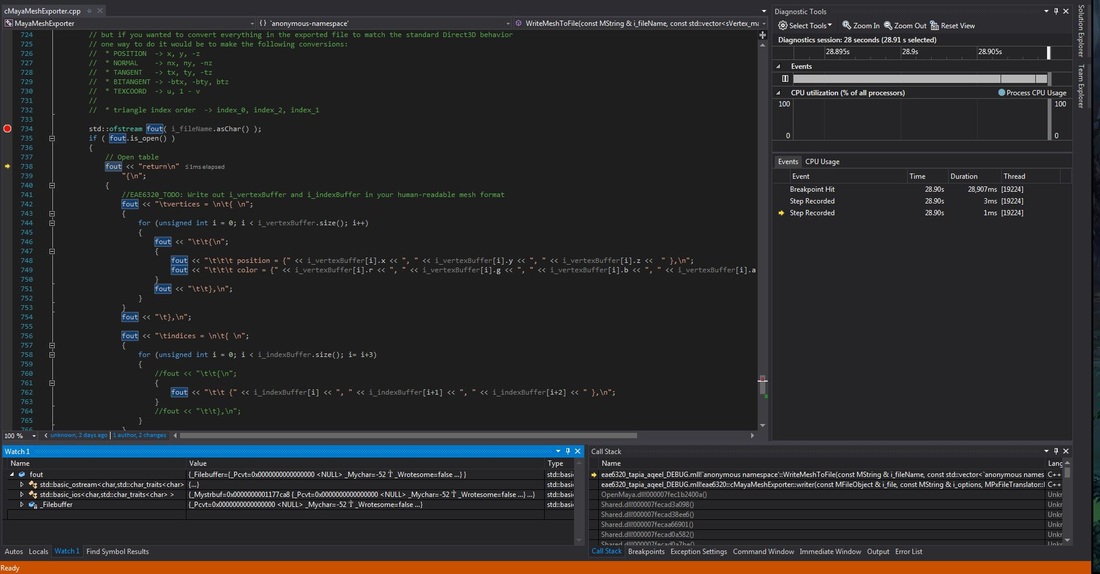
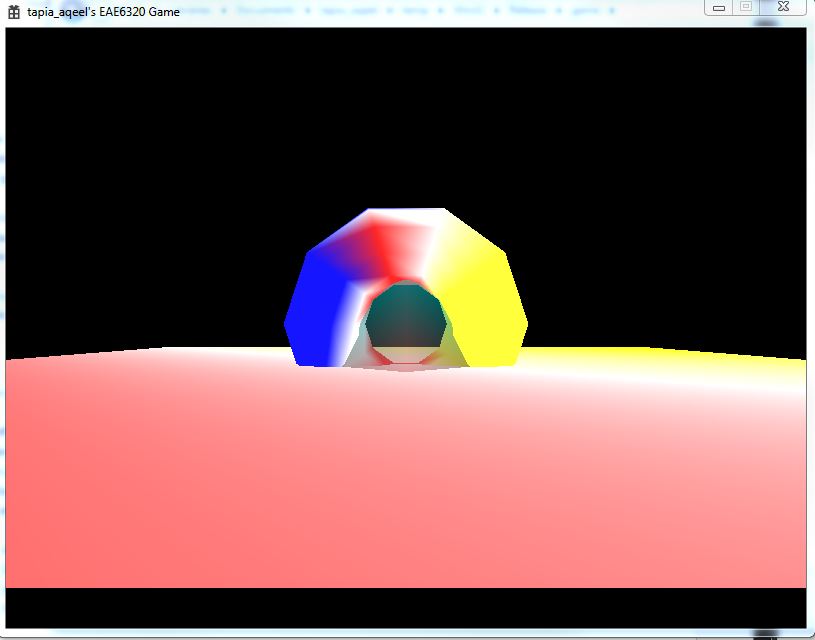
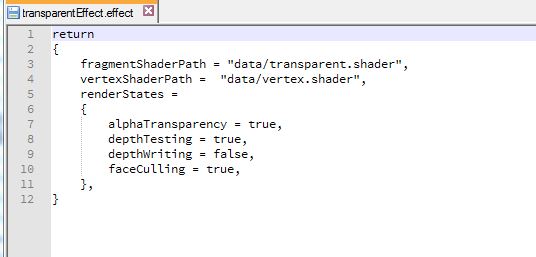
This week we made a huge visual upgrade to our assignment. Using a Maya exporter we can now export models directly out of Maya into the format of our human-readable files which can be read and used in our game. I must say, I enjoyed doing this assignment! The MayaMeshExporter project we added doesn’t depend on any of the other projects in our solution. It is a standalone exporter that we use from within Maya to export the model data into a format we can read. Here’s how we use it from Maya to load out plug-in. The plug-in is loaded and we use it to export our models. It will generate the mesh files in a format of our choice. The screenshot shows me debugging the exporter in visual studio. Another thing we added is the ability to display transparent objects in our scene. As you can see we have a transparent pyramid with the opaque torus showing through the transparent object. The torus covers parts of the transparent pyramid which are behind it. To achieve this we wrote a new transparent shader that created transparent files. To use this shader we created a new effect file that uses our old vertex shader and the transparent shader instead of the fragment shader. We also had to change the format of our effect files to include render states to control the following 4 settings through the effect file.
These values are stored in a single unsigned integer of 8 bits. This is because each bit represents a flag for each of the render states. Thus 4 out of these 8 bits are used for the 4 render states. The remaining 4 are currently unused. The images below show how they are written out in the binary files. The transparent mesh file contains a 0B which is 1011 in binary. The render states are set starting from the least significant bit as alpha transparency (set as true), followed by depth testing (set as true), depth writing(false) and face culling (true). As you can see from the previous image, reading in reverse order, the render states are set as true, false, true and true for each of the render states respectively which corresponds to 1011. We store these values easily in a single integer in this way.
I placed the render states after the paths to the shaders because when I read them I store the current pointer for where I am reading from. It seemed easiest to just add code later on to access the states since I already know the current pointer. Another thing is, to make the files more human readable it made sense to show what shaders are being used before you set the render states. That way I know if I am using a transparent shader I need to set my alpha Transparency to true. Overview of alpha transparency: In computer graphics, alpha is the process of combining an image with a background to create the appearance of partial or full transparency. The alpha value (defined in our transparent shader) represents how much of the image is blended with the object. It is currently set to 0.5. That means half the image blends with the background i.e. 50% transparent. You can download the DirectX_64 build here. You can download the OpenGl_32 build here. Controls: WASD to move the camera in FPS style. Arrow keys to move the torus. Esc. to quit. Leave a Reply. |
Aqeel TapiaThis is a blog that documents my work for my graphics Game Engineering class at the University of Utah. Archives
December 2015
Categories |


 RSS Feed
